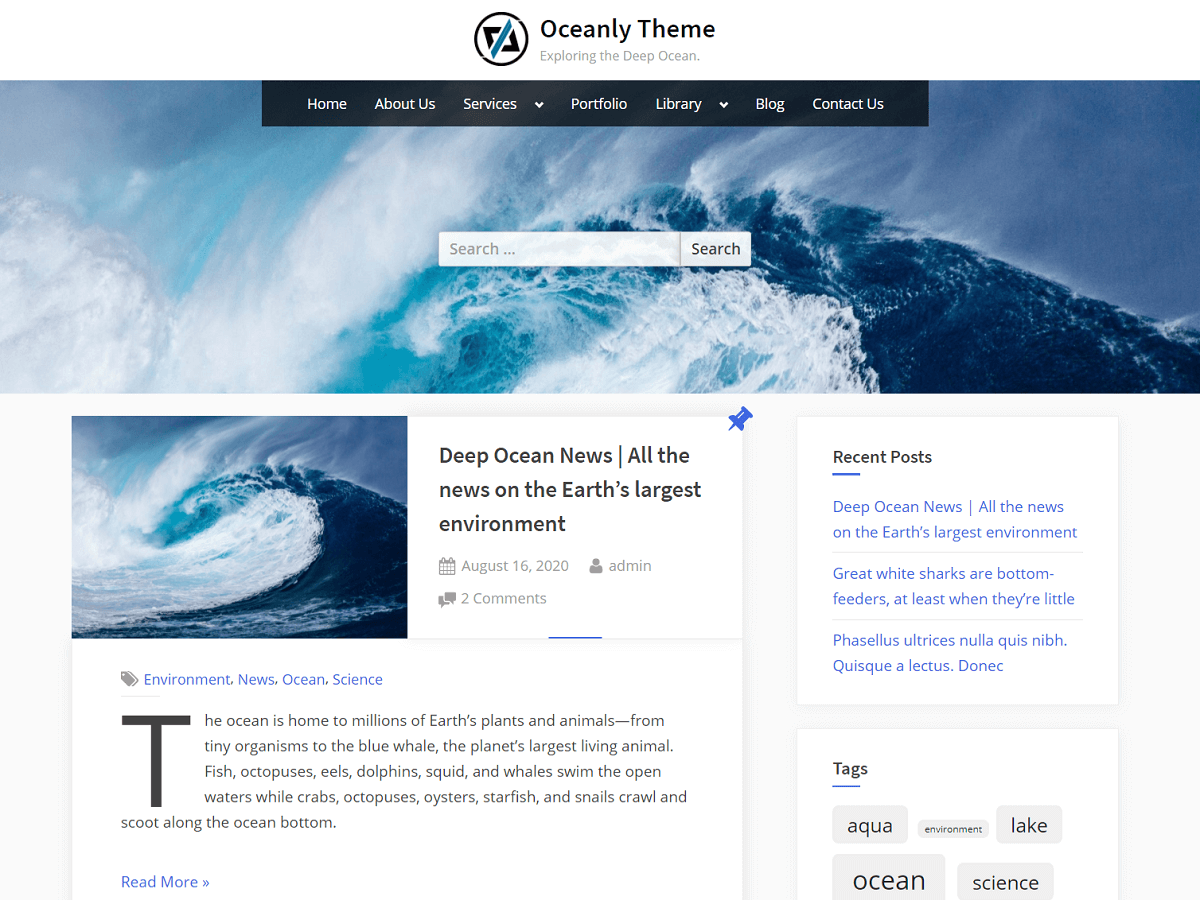
Oceanly is suitable to build marketing, news, blogging, consulting, academic, institute, school, and educational websites. Also, it is great for publishing events, tutorials, music, videos, ebooks, etc. It comes with a custom header image section with a parallax effect, custom background, multiple footer widgets locations, and the main sidebar widget area.
The theme supports three different locations for the menu which include the primary menu, footer menu, and social links menu. The primary menu supports multi-level, drop-down sub-menus which are fully accessible to the keyboard users.
Also, the theme supports breadcrumbs navigation in the header which can act as secondary navigation for the users. The theme offers a conditional header block area that can be used to place any content in the header like slider, services, etc. and this can be configured to be shown on specific pages depending on the settings. The theme comes with various options to customize the website as per need with many different possibilities.
Frequently Asked Questions
Where to find the Theme Options?
In your WordPress admin dashboard, you can find the theme options in the menu “Appearance” > “Customize”.
How to change the Header Background Image or Color?
You can change the header background image from theme options “Appearance” > “Customize” > “Header Image”. Also, you can change the header background color from “Customize” > “Colors”.
Where to manage the Sidebar or Footer Widgets?
You can add and manage the sidebar or footer widgets in “Appearance” > “Widgets”. You can drag and drop widgets in the widget sidebar area.
Oceanly theme comes with 4 sidebar widgets areas which include a main sidebar widget area and 3 footer widgets areas. And, the premium version comes with 6 footer widgets areas with a theme option to change the number of footer widgets per row.
How to hide the Page Title?
When adding or editing the page, on the right side of the block editor, you will find “Oceanly Settings” > “Hide Header Title”. Check this checkbox field to hide the title of this page.
How to set the Left Sidebar for Pages or Blog Posts?
For pages, there are many page templates to choose from. You can set the page template when adding or editing the page from “Template” to “Page with left sidebar”. You can find this option on the sidebar area of the page editor screen.
For blog posts, you can set the left-sidebar layout from the “Appearance” > “Customize” > “General Options” > “Blog Page Sidebar” to “Left Sidebar”.
How to show the Comment Form for Pages?
When editing or adding the page, you can turn on the comments by going to “Page” (on the top-right side) > “Discussion” and then simply check “Allow comments”.
How to make full container width for the blog posts when there is no active sidebar?
When there is no sidebar widget, you can make the blog posts width fit in the container from “Appearance” > “Customize” > “General Options” > “Blog Page Width (No Sidebar)” to “Full”. It is “Compact” by default for the blog posts with no sidebar.
How to create Social Links Menu?
You can create a menu from “Appearance” > “Menu”. Then, create “Custom Links” for menu items. For URL in a custom link, enter your social page URL. Finally, assign this newly created menu to a menu location “Social Links Menu”. Then, the social links will be shown in the footer.
For the social links menu in the header, you may want to check our premium version. It is available in the premium version with extra features.
How to add a Slider, Shortcodes, or Blocks in the Header?
You can use the conditional header block for this. You can find this option in the “Appearance” > “Customize” > “Header Block Area”. Then, create a pattern block and select this block in the “Header Block Area”. In this block area, you can insert the slider shortcode or any other shortcode or other blocks.
Also, you can set conditions of where to show this block area. For example, check “Show in Front Page” to show this block area on the front page.
The theme comes with 1 header block area. And, the premium version comes with 3 header block areas and 2 footer block areas.
For any block area, you can also specify if you want to make it full width or contained width.
How to Replace the Hero Header with a Custom Header having a Slider?
Firstly, you would have to disable the hero header from “Appearance” > “Customize” > “Hero Header”. Here, you can uncheck the “Enable Hero Header” option and check the “Site Header Bottom Margin” option.
Next, you can go to “Appearance” > “Customize” > “Header Block Area”. Then click on “Pattern Blocks Manager (opens in a new window)”. Here, you will need to add a block to be shown in the header. You can insert any content in this block like a slider shortcode. After, you can give it any title like “Header Block Area 1 Content” and publish the block.
To get the slider shortcode, you can search for any slider plugin.
Next, go to “Appearance” > “Customize” > “Header Block Area”. You will also need to refresh the page.
Then select the block that you just created above in “Header Block Area 1”. In this way, any content you place in the block will appear in the header. Also, you may set the width of the block area to full width by checking the “Set Full Width” option for “Header Block Area 1”.
In case you see the background color on the left and right sides of the menu. That is the header background color. You may change it to white or any other color from “Appearance” > “Customize” > “Colors” > “Header Background Color”.
How to Shift the Menu inside the Custom Header at the top?
If you have followed the above guidance for replacing the hero header with a custom header, then you may also want to shift the menu inside the custom header. To achieve this, you can use the following CSS code:
.site-hero-header {
    height: 0;
    min-height: 0;
}
.site-main {
    margin-top: 40px;
}
You can use the above CSS code in “Appearance” > “Customize” > “Additional CSS”. Also, you can adjust the 40px value as you see fit.
How to change the “Read More” text?
You can change the “Read More” text from the “Appearance” > “Customize” > “General Options”. Then, enter any text in the field “Read More Text”. This text will replace the default “Read More” text. Also, you can leave this field blank to keep the default text.
Why the Widget Heading has no Underline Style?
In the block widgets screen page, to properly add a widget heading in the block widget, you will have to add a “Group” block, then within the “Group” block, you can add the heading level 2 or 3. Similarly, you can put any other blocks like images, links, or paragraphs below the heading but they should also be within the “Group” block. In this way, the widget heading comes with an underline style in the widgets area.
How to disable the Block Widgets Screen?
If you want to make use of the classic widgets screen instead of the block widgets screen, then you can simply activate the “Classic Widgets” plugin. You can go to “Plugins” > “Add Plugin” and search for the “Classic Widgets” plugin, then you can install and activate it.
How to Translate the theme into another language?
Check out our guide on how to translate a WordPress theme or plugin into another language.

