In this guide, we explore the WordPress security plugin to monitor and protect your website from brute-force attacks, prevent spam comments, and increase login security.
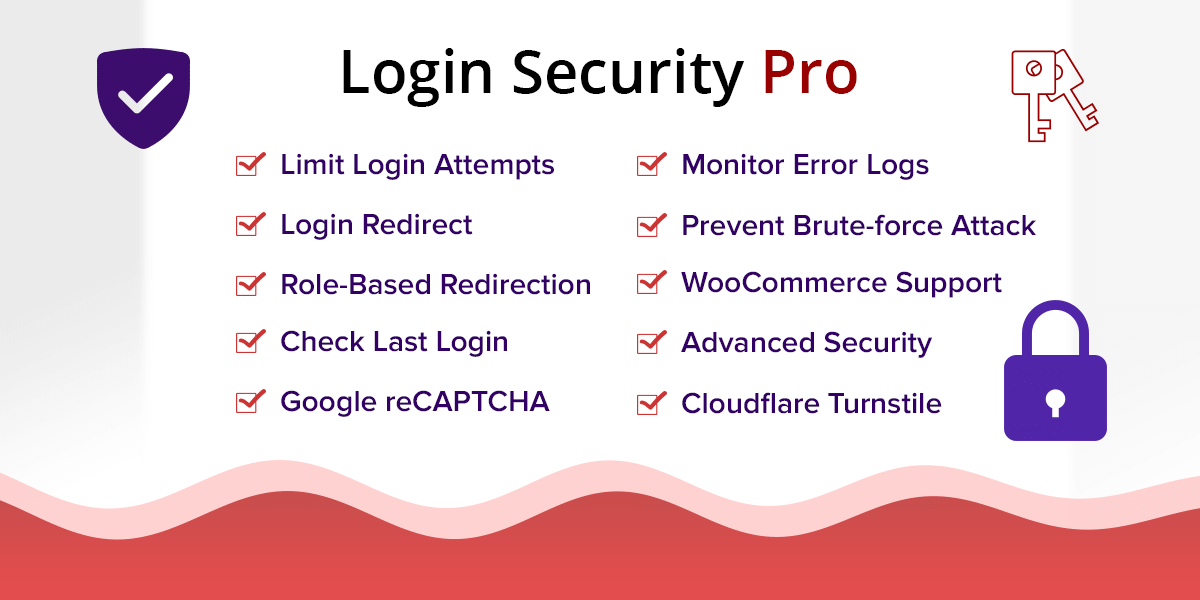
Login Security Pro is a premium security plugin for WordPress which comes with various security and monitoring features to prevent spam comments and failed login attempts.
With Login Security Pro, you can add Cloudflare Turnstile or reCAPTCHA to WordPress standard forms like login, comment, register, or lost password forms. Also, it can auto-block an IP address when exceeding the number of failed login attempts.
The plugin supports adding Cloudflare Turnstile or reCAPTCHA to the WooCommerce login, register, lost password, and checkout forms.
The free version of this plugin is Login Security Captcha that comes with a Cloudflare Turnstile or reCAPTCHA validation feature for standard WordPress forms.
For adding Cloudflare Turnstile or Google reCAPTCHA validation in WooCommerce forms and advanced security features, you can check out the Login Security Pro plugin.
Activating the Login Security Pro Plugin
After purchasing the Login Security Pro WordPress Plugin, you get the zip file of the plugin which you can upload to your WordPress from “Plugins” > “Add Plugin” > “Upload Plugin”. Then, you can activate the plugin from “Plugins” > “Installed Plugins”.
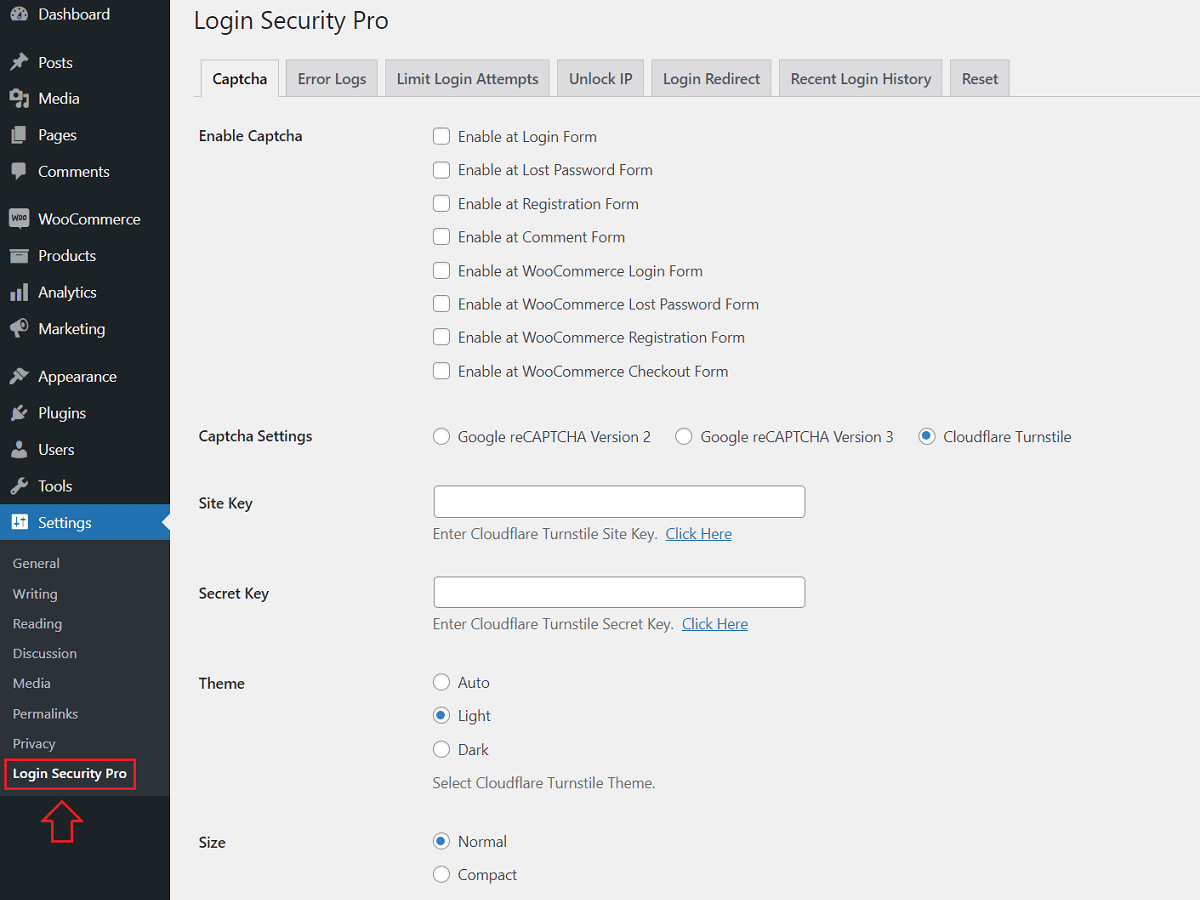
After activating the plugin, you will see a new menu on your WordPress admin menu pages in “Settings” > “Login Security Pro”. The plugin’s settings page has the following tabs:
Login Security Pro Plugin Features
- Captcha: To enable and configure Cloudflare Turnstitle and Google reCAPTCHA on WordPress and WooCommerce standard forms.
- Error Logs: To monitor all the errors that are logged by the Cloudflare Turnstitle or reCAPTCHA validation on different forms.
- Limit Login Attempts: To configure the number of failed login attempts before locking out the IP address.
- Unlock IP: To unblock all the IP addresses that are locked by exceeding the number of failed login attempts.
- Login / Logout Redirect: Redirect the user after login or logout depending upon the user’s role.
- Recent Login History: View recent login history by username. Enable or disable the dashboard widget to view recent login history.
- Reset: Revert back the Login Security Pro plugin to its initial state.
Cloudflare Turnstile and Google reCAPTCHA v2 or v3 Validation
Login Security Pro supports Cloudflare Turnstile and reCAPTCHA validation on these forms:
- WordPress Login Form – Standard
- Lost Password Form – Standard
- Registration Form – Standard
- Comment Form – Standard
- Login Form – WooCommerce
- Lost Password Form – WooCommerce
- Registration Form – WooCommerce
- Checkout Form – WooCommerce
To set up Cloudflare Turnstile on these forms by providing a site key and a secret key that you can get from the Cloudflare Turnstile dashboard. You can create Turnstile keys for your domain by following the guide How to Get Site and Secret Key for Cloudflare Turnstile.
To configure reCAPTCHA on these forms, you will need a site key and a secret key. For this, you can read How to Get Site and Secret Key for Google reCAPTCHA.
Now, you can set Cloudflare Turnstile keys or reCAPTCHA keys for the appropriate version. And, then you can check the forms and select the Turnstile or reCAPTCHA version that you would want to use on those forms.
Is Google reCAPTCHA not working?
You may have a caching plugin active on your site. To make reCAPTCHA work, you can try any one of these options:
- Exclude this URI in your caching plugin settings (JS Excludes): /repatcha/api.js
- Disable JavaScript-related caching from your plugin settings.
- Or, simply deactivate the caching plugin.
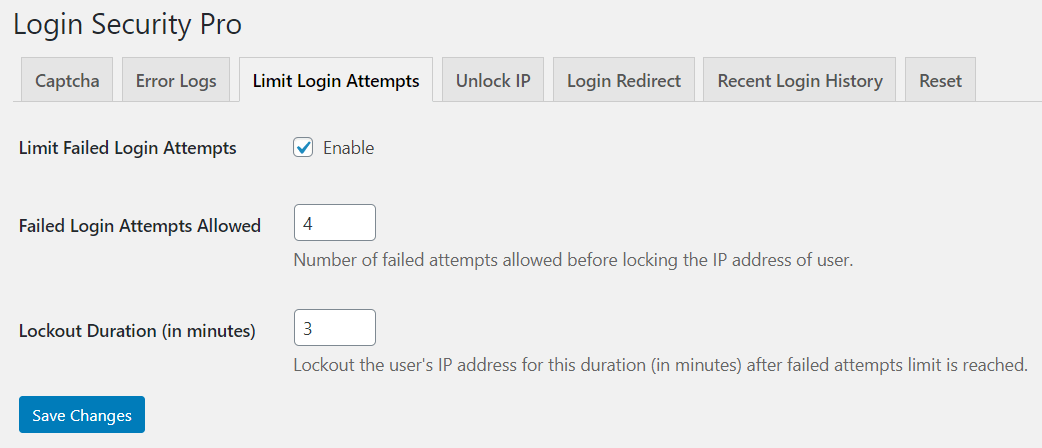
Limit Failed Login Attempts & Automatically Block IP Address
By limiting failed login attempts, you can secure the WordPress site from attackers and bots.
In order to gain access to your site, the attacker may try multiple password combinations on the login form of your WordPress site.
Now, by limiting failed attempts, the plugin can lock out the attacker’s IP address automatically for some duration.
Also, you can configure the number of failed attempts allowed and the lockout duration.
Record and Monitor User Login History
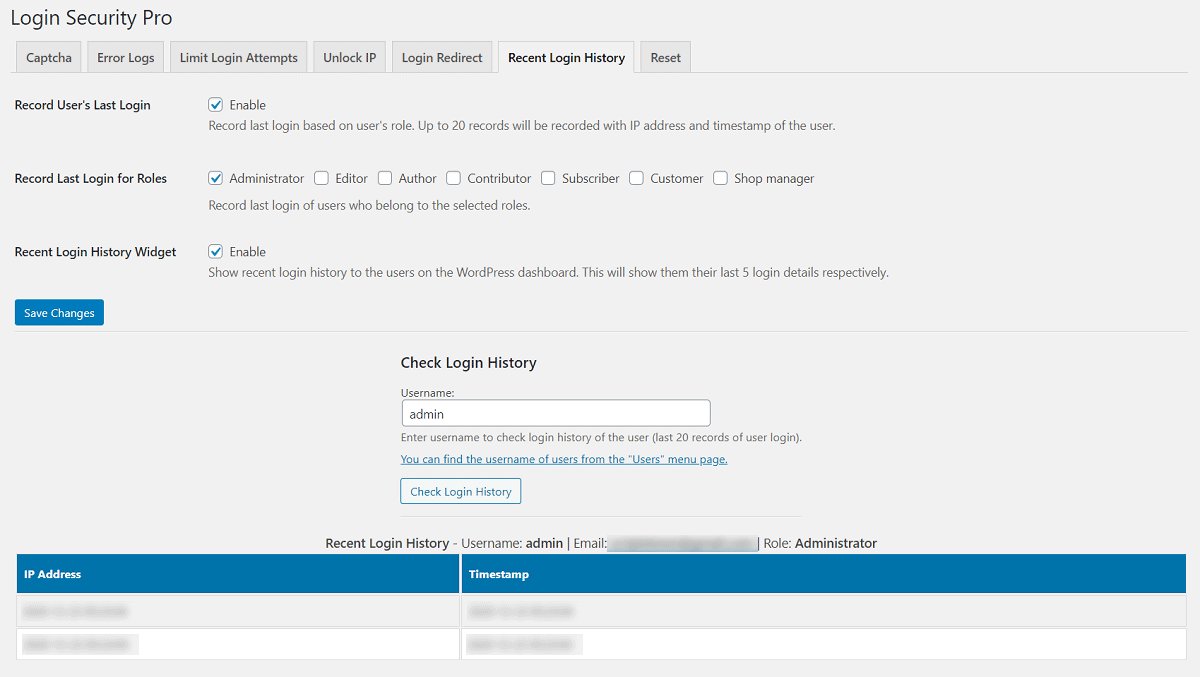
This feature allows logging of the IP addresses and timestamps of the user login. Also, you can select the roles for which to record the login history of the users.
You can also check login history by entering the username of the user.
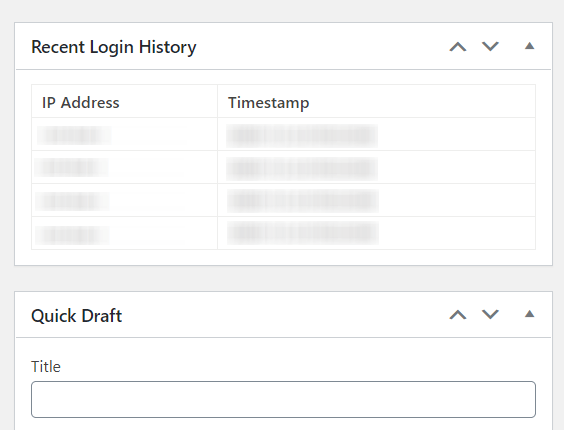
With the dashboard widget, the users will be able to see their recent login history with the IP addresses and timestamps on the WordPress dashboard widgets area.
Redirect User After Login or Logout based on the Role
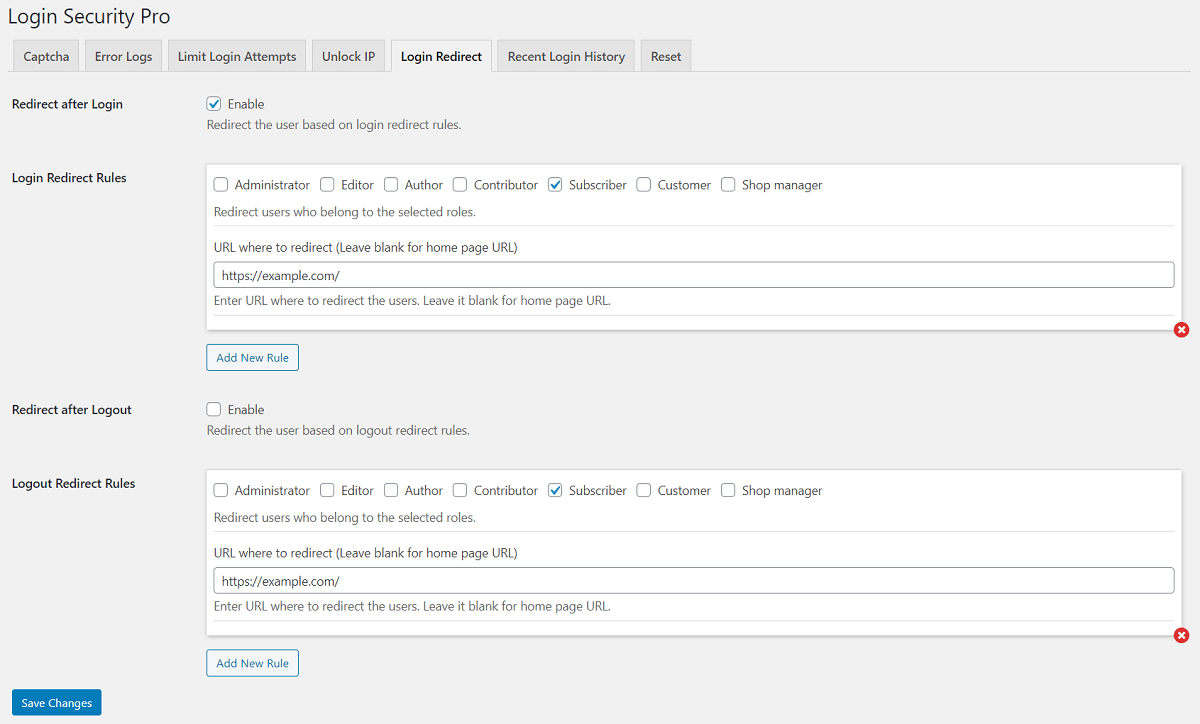
With this feature, you can redirect the user depending on the role. For example, you can redirect all the subscribers to your home page after login in and logout. And, redirect administrators to the WordPress admin page after login and to the home page after logout.
Also, the plugin supports multiple rules for both cases. This means you can configure different redirect rules based on different roles.
Lastly, you can read more on the features and pricing of Login Security Pro.