In this guide, you will learn how to change nameservers for your domain. Also, you will learn how to create your own personal nameservers.
Here, we will use domain registrars, GoDaddy and Namecheap as examples, but you can apply this to any domain registrar.
Adding Personal Nameservers for a Domain in GoDaddy
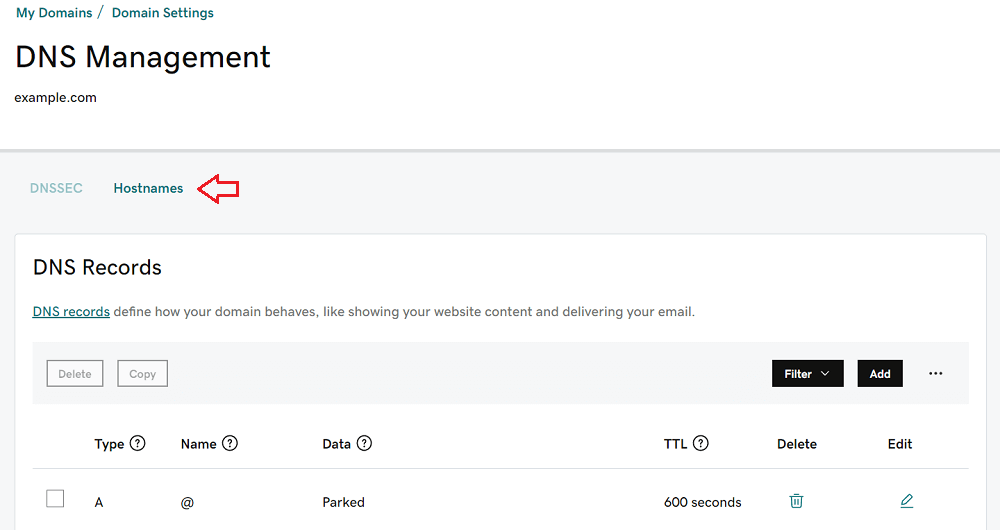
To add your own personal nameservers in GoDaddy, log in to your account and go to the “DNS Management” page for your domain.
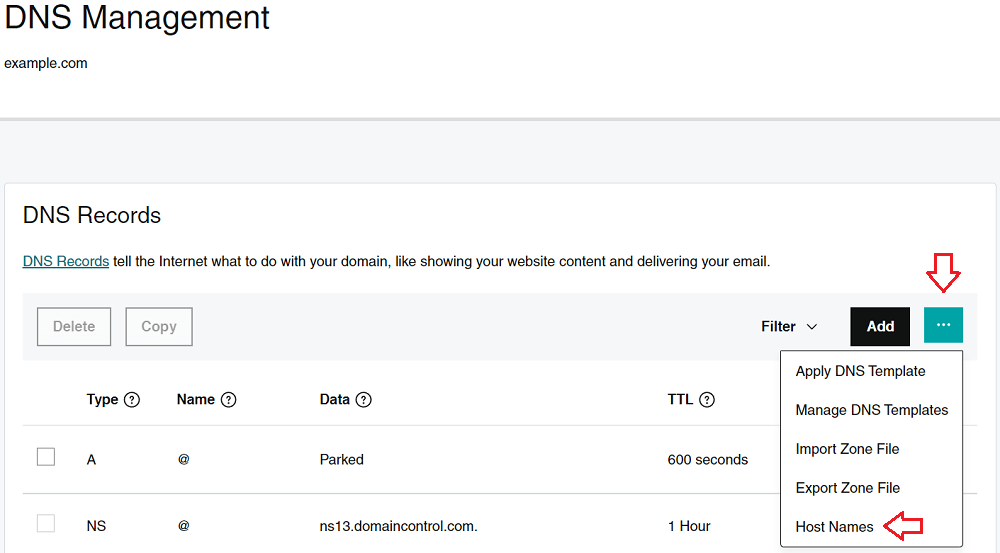
Next, click on the three dots beside your domain name and then click on “Host Names”.
You may also find the link to the “Hostnames” at the top of DNS records.
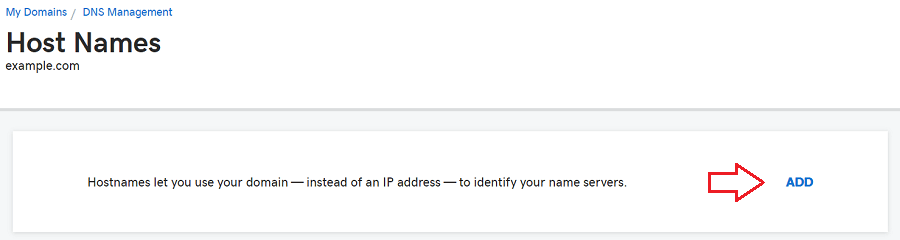
After, you will proceed to the host names page for your domain where you can click on the add button.
Here, for the “Host”, enter “ns1” and for the “IP address”, you would need to provide your hosting server’s IP address.
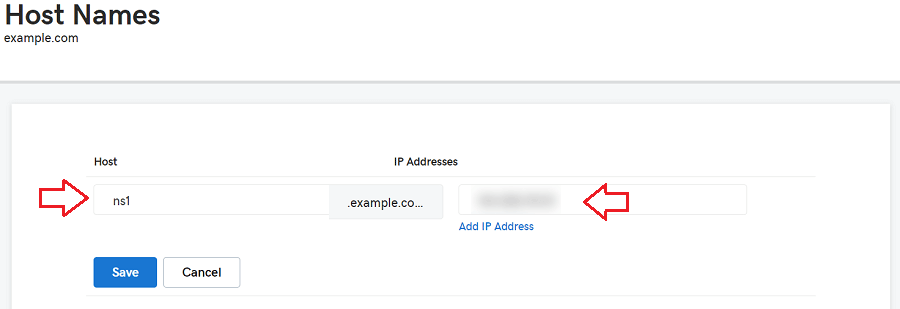
Similarly, you can repeat the same steps to add another nameserver such as “ns2” for the same IP address.
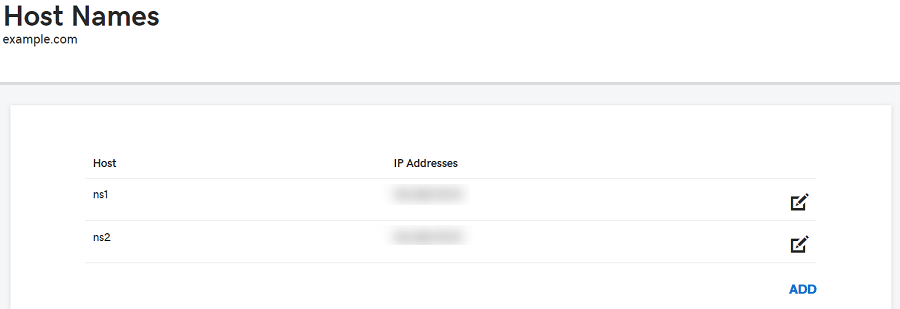
Now, you can see all your personal nameservers or the host names as follow:
Changing Nameservers for a Domain in GoDaddy
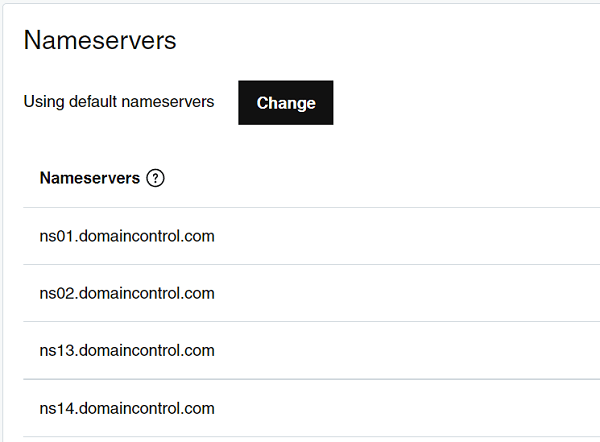
Once, you have added your own personal nameservers, now you can change the default nameservers. To do this, go back to the “DNS Management” page and scroll down to the bottom. You will see the default nameservers as follows:
Here, click on the “Change” button and then click on “Enter my own nameservers (advanced)” to add any custom nameservers.
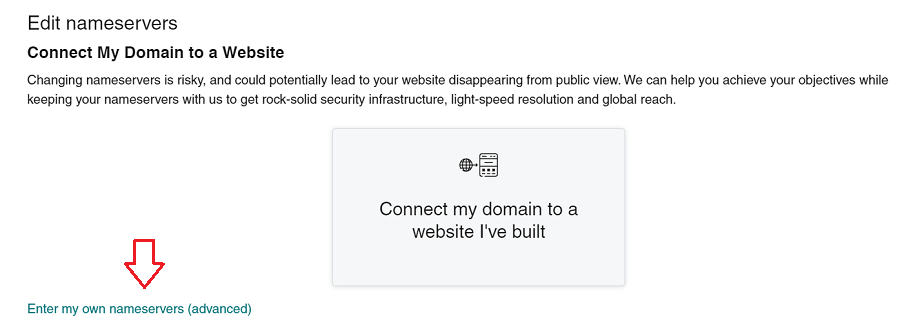
You can either change default nameservers to your personal nameservers or you can change them to any third-party nameservers like Cloudflare.
We are going to change the default nameservers to our previously added personal nameservers which are “ns1.example.com” and “ns2.example.com”.
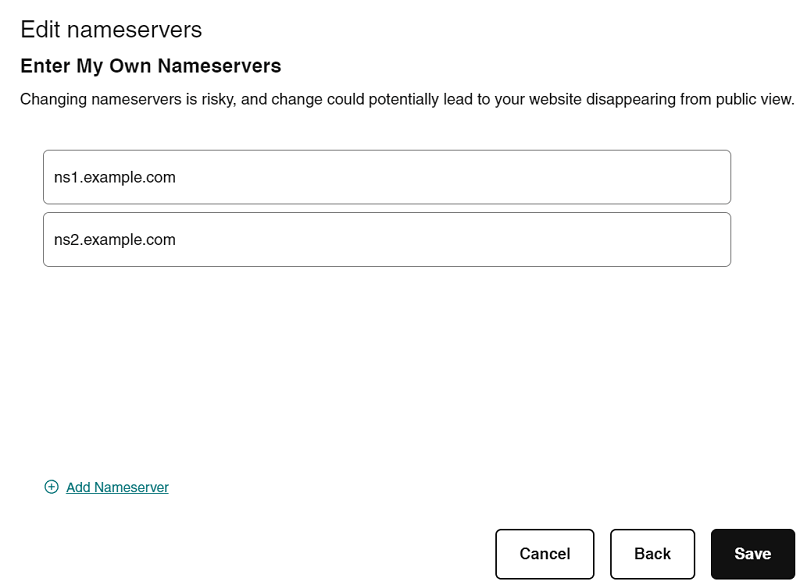
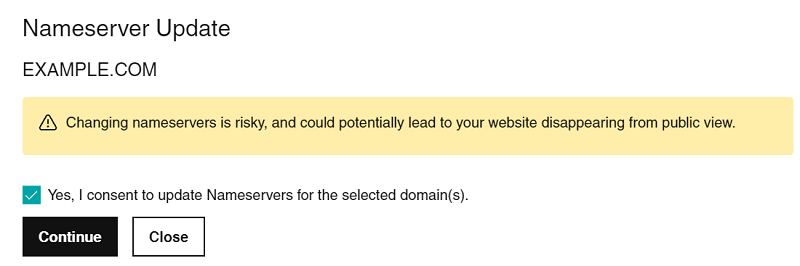
After you add the personal or custom nameservers, click on the “Save” button. Then, it will ask you to confirm the update. This can take up to 24 hours to propagate worldwide but this usually takes some minutes to propagate.
So, this is how you can add your own personal nameservers and change the default nameservers in GoDaddy.
For purchasing domains, we recommend GoDaddy or Namecheap for their simple interface. Also, for getting hosting servers, we recommend Linode as they offer great uptime, support, and backup services.
Next, we will change nameservers for a domain that you purchase from Namecheap.
Adding Personal Nameservers for a Domain in Namecheap
To add personal nameservers in Namecheap, log in to your Namecheap account and go to your domain list and click on the “Manage” button beside your domain.

Here, you would need to go to the “Advanced DNS” tab and scroll down to see the “Personal DNS Server” section where you can add personal nameservers as follows:
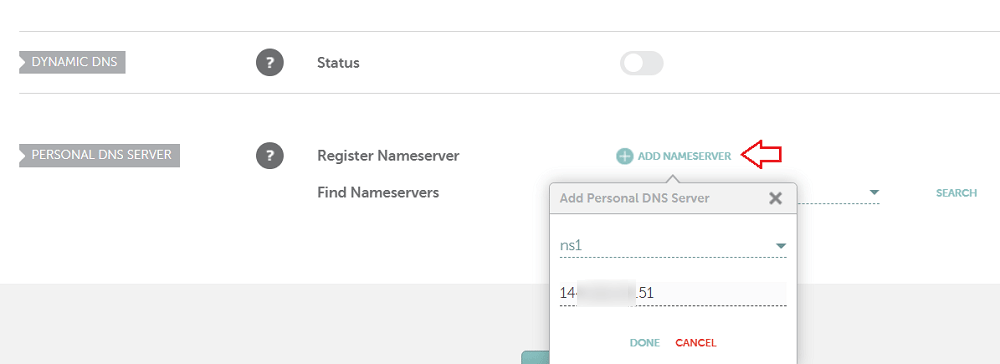
Here, you would need to provide the host as “ns1” and your hosting server’s IP address. Similarly, you can do this for the second nameserver, “ns2”.
Changing Nameservers for a Domain in Namecheap
Once you have added both the nameservers, then you can change the default nameservers by going to the “Domain” tab as follows:
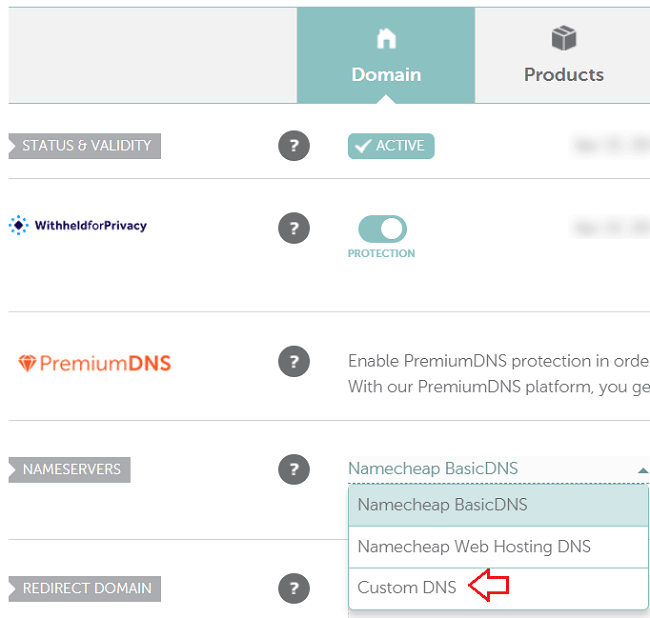
Here, you can change “Namecheap BasicDNS” to “Custom DNS”. Then, provide your personal nameservers, “ns1.example.com” and “ns2.example.com”, or any other custom nameservers. This can usually take some minutes or hours to propagate.
So, this is how you can change your default nameservers in Namecheap.
If you have any more queries or need assistance, then you can fill out our contact form and we will respond back as quickly as possible.