This guide describes how to install Cloudflare SSL for your website running on the OpenLiteSpeed web server.
Assuming you have already set up your website and domain with OpenLiteSpeed, now you can follow the steps below to install the Cloudflare SSL certificate for your domain.
If your site is running on Apache instead of OpenLiteSpeed, then you can follow the guide on how to set up Cloudflare SSL on Apache otherwise you can continue reading for setting up Cloudflare SSL for a website on OpenLiteSpeed.
Add Cloudflare’s Nameservers
First of all, change the nameservers of your domains to Cloudflare’s nameservers.
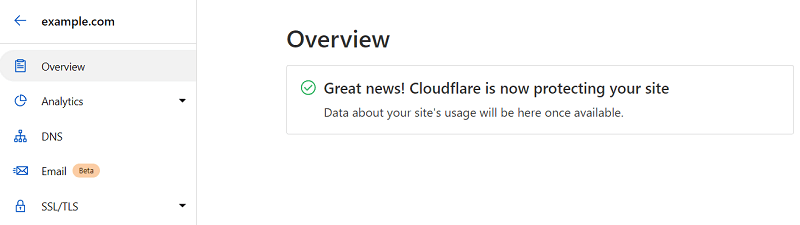
Log in or create an account on Cloudflare and add your website domain. In Cloudflare’s dashboard, click on the “Add site” button and enter your domain name. Let’s call it “example.com”. Next, select their free plan and continue.
It will show instructions to change your nameserver depending on your domain registrar.
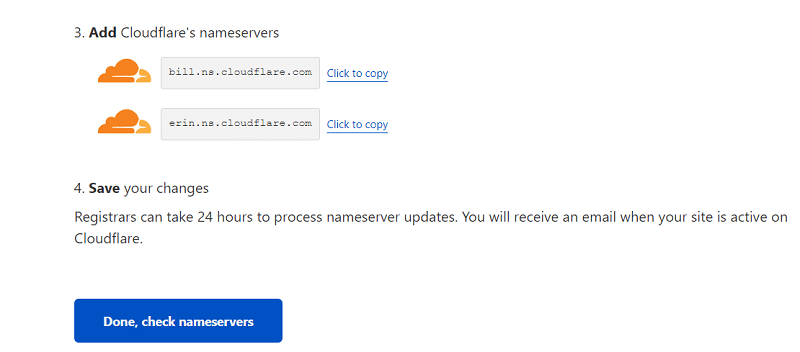
Simply, replace your current nameservers (DNS) with Cloudflare’s nameservers on your domain registrar account where you purchase the domain.
Once, you have done that, click on the “Done, check nameservers” button to verify. Generally, it can take some minutes to show up on Cloudflare.
Generate Private Key and CSR with Cloudflare
After changing the nameservers, we need to generate the origin certificate, private key, and CSR with Cloudflare.
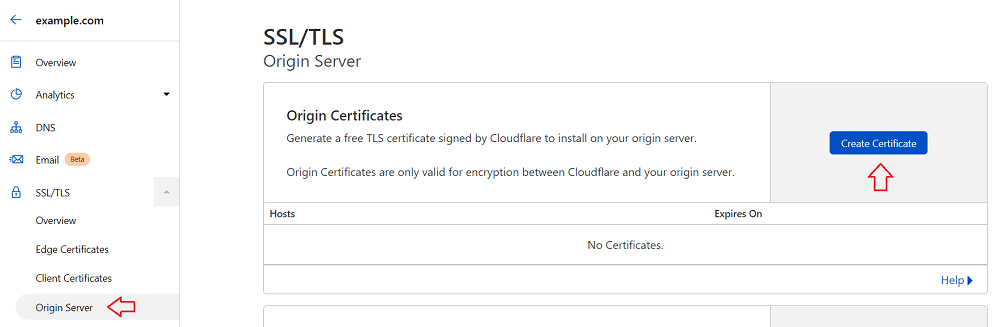
On Cloudflare’s dashboard, go to “SSL/TLS” > “Origin Server”. Then, click on the “Create Certificate” button.
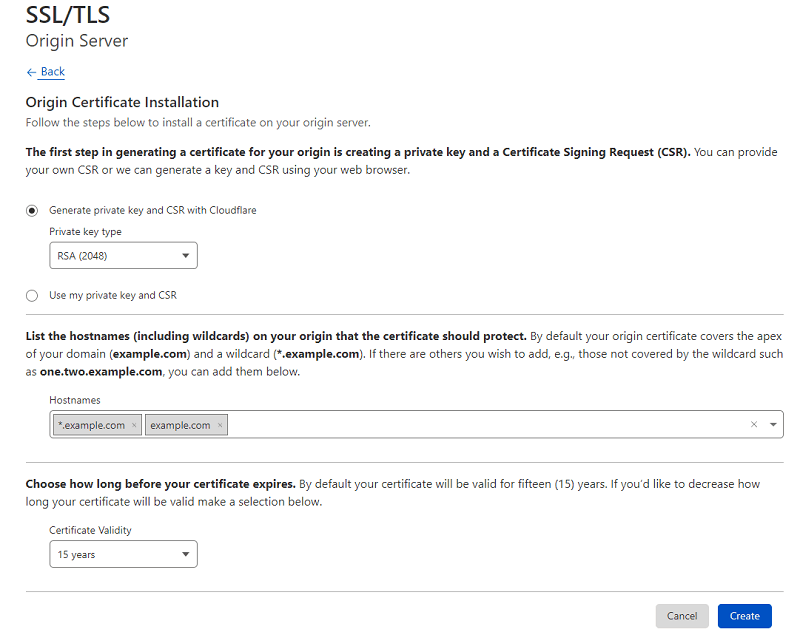
Next, select default options and click on the “Create” button as shown below.
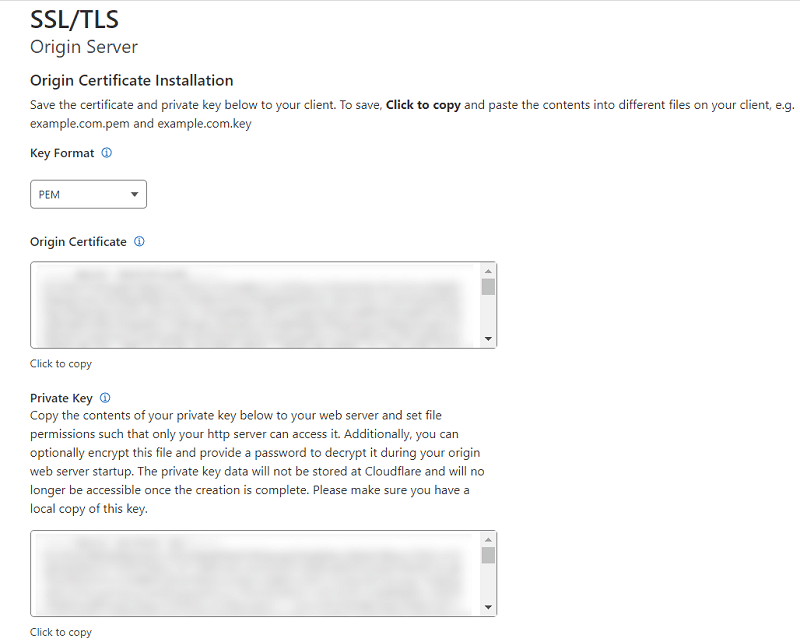
Now, it will generate the “Origin Certificate” and “Private Key”. Make sure to copy both the original certificate and private key to a text file temporarily as we will use them later.
Save Origin Certificate and Private Key
Login to your server with SSH where you host the website. You may also use file manager as we simply put the “Origin Certificate” and “Private Key” in a secured directory on the server.
Here, we use SSH so we can run commands on the terminal to create a directory and store certificate files in this directory on the server.
To create the directory for storing the certificate file and private key, run the command:
> sudo mkdir -p /usr/local/ssl
Next, create the file “example.com.pem” to store the “Origin Certificate”. Here we use the nano editor for creating the file.
> sudo nano /usr/local/ssl/example.com.pemCopy and paste the value of “Origin Certificate” in this file and save (Ctrl + X and Y).
Next, create the file “example.com.key” to store the “Private Key“.
> sudo nano /usr/local/ssl/example.com.keyIn this file, copy and paste the content of “Private Key” and save.
Now, you can restrict ownership and permissions for these files using the following commands:
> sudo chown -R root:root /usr/local/ssl> sudo chmod -R 400 /usr/local/sslIf the above file permission doesn’t allow to read certificates to the OpenLiteSpeed server, then you may need to change 400 to 644 in the second command.
Add Listener for SSL in LiteSpeed WebAdmin Console
Now, we need to create a listener for SSL. Also, we would need to link the certificate and private key files to this listener in OpenLiteSpeed WebAdmin Console.
Go to the URL “https://YOUR_SERVER_IP:7080” in order to login into the WebAdmin Console.
Assuming you already have a listener (let’s say “Default”) for port 80 (HTTP port) mapped to the virtual host (let’s say “Example”) for your domain (let’s say “example.com”).
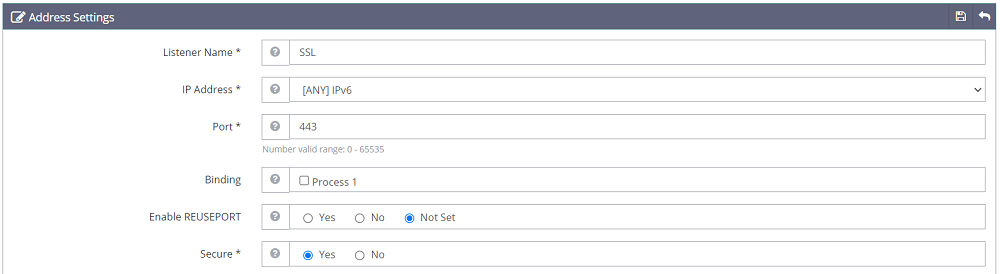
Here, add the listener for SSL (port 443) by going to the “Listeners” menu and adding (+) a new listener.

Enter the “Listener Name” to “SSL”, set “Port” to “443”, and “Secure” to “Yes”. Then, save this listener.
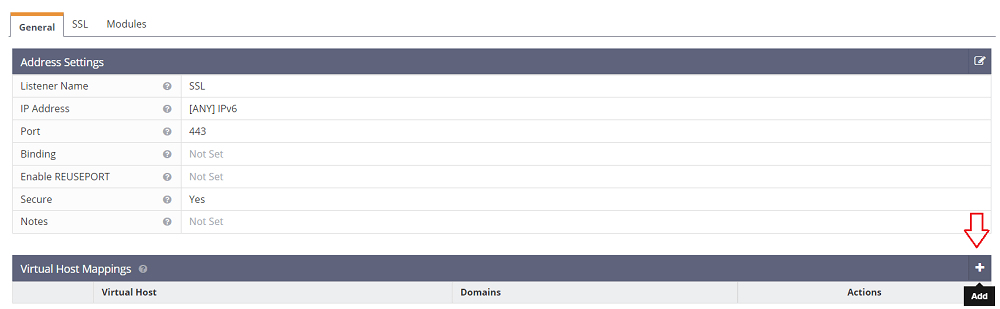
After adding the SSL listener, click on the view button alongside the SSL listener under “Actions”.

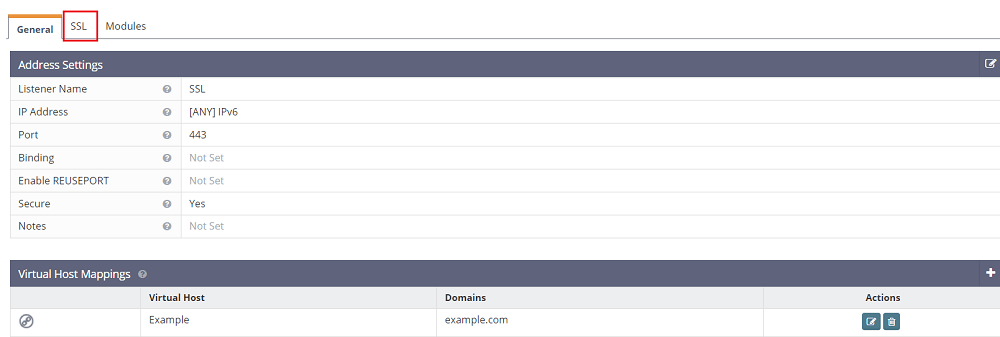
Here, add a new virtual host mapping so as to map the virtual host to this SSL listener. Set the virtual host to “Example”, enter the domain (“example.com”), and save.
Link SSL Private Key and Certificate File
Now, we can link the certificate file and private key to the SSL listener. Go to the SSL listener by clicking on the view action, then go to the “SSL” tab (as shown below).
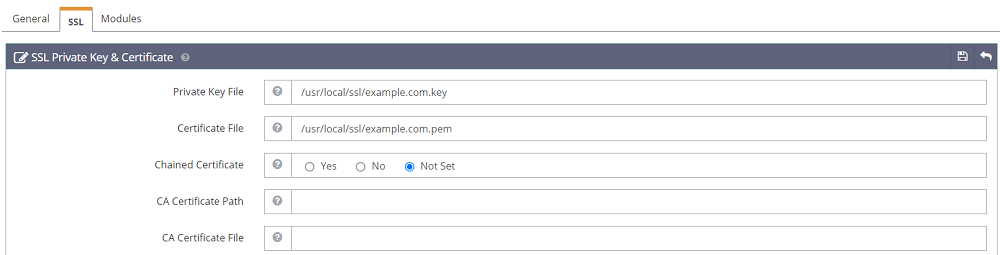
Here, provide the path to the “Private Key” and “Origin Certificate”, the files that we created in the above steps.
Private Key File: “/usr/local/ssl/example.com.key”
Certificate File: “/usr/local/ssl/example.com.pem”
Lastly, gracefully restart the server by clicking on the green button available at the top in “LiteSpeed WebAdmin Console” or you can also restart using the terminal by running the command:
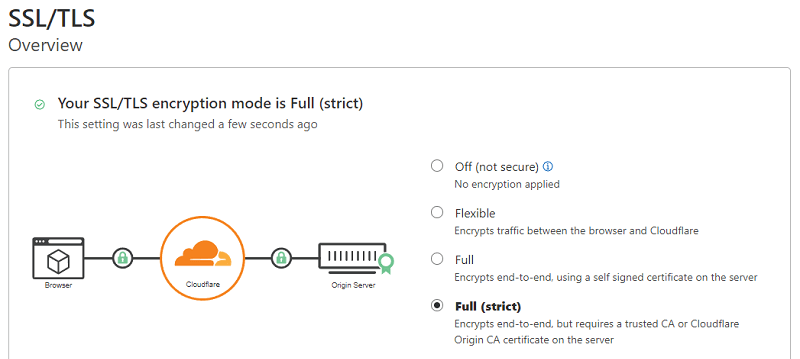
> sudo systemctl restart lswsSet SSL/TLS Encryption Mode to Full (strict)
Now, go to the Cloudflare dashboard and set SSL/TLS encryption mode to “Full (strict)”.
All done, you can now test your website for SSL by going to “https://example.com/”. Also, you can verify it using SSL checker tools available on the web like “SSLShopper SSL checker“ or “GeoCerts SSL checker”.
Force Redirect HTTP to HTTPS
Notice that, you can still access “http://example.com/” (without SSL). To redirect all HTTP requests to HTTPS, you can add rewrite rules for your virtual host by going to “Virtual Hosts” > “Example” > “Rewrite”. Here, add new rewrite rules:
# Redirect www to non-www and force https
RewriteEngine On
RewriteCond %{HTTPS} off [OR]
RewriteCond %{HTTP_HOST} ^www\. [NC]
RewriteCond %{HTTP_HOST} ^(?:www\.)?(.+)$ [NC]
RewriteRule ^ https://%1%{REQUEST_URI} [L,NE,R=301]
# End Redirect www to non-www and force https
If you face any issues when setting up Cloudflare SSL for a website running on OpenLiteSpeed, then you may reach out to us via contact form.