In this guide, you will learn how to send and receive emails with a domain name and set up your own mail server using CyberPanel running on a VPS.
Setting up your own mail server can be tricky as it involves several steps like taking care of proper DNS records, DKIM support, SpamAssassin, etc. But, using CyberPanel running on a VPS to set up a mail server is super easy.
To set up a mail server on a VPS, you would need to first install CyberPanel and then create a website with “DKIM Support” checked in the “Additional Features”. You can read our previous guide on how to install CyberPanel on a VPS.
Once you install CyberPanel and create a website in CyberPanel using your domain name with DKIM support, then you can proceed to the next step.
Issue Mail Server SSL to a Website
It’s important to install SSL for a mail server. To do this, navigate to the “SSL” menu, then “MailServer SSL”. Here, select the website domain like example.com that you would use in the sender’s domain to send emails like john@example.com, admin@example.com, etc.
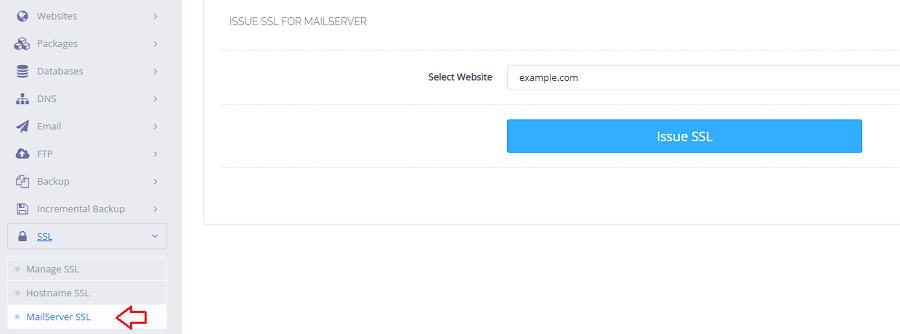
Finally, you can click on “Issue SSL” to install the SSL for the mail server on this domain.
Create Email Account
To send emails from or receive emails, you would need to create your email account like john@example.com, admin@example.com, etc.
To create an email account, go to the “Emails” menu and then click on the “Create Email” link. Here, select your website domain and provide details for this email account like username and password. Then, click on “Create Email”.
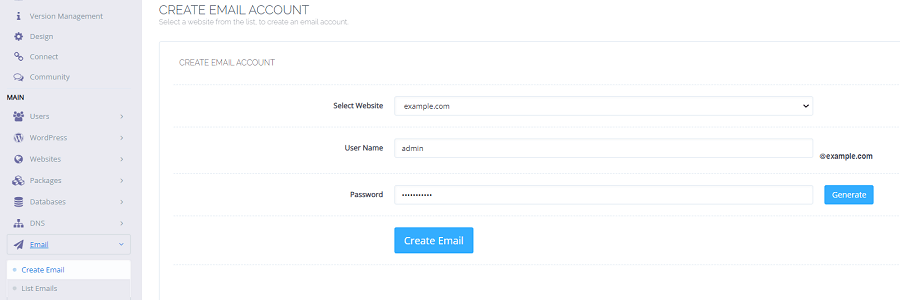
In this way, you can create as many emails account as you like. Each email account will have its own separate mailbox.
Access Webmail to Send and Receive Emails
After creating the email account, you can access its inbox using the Webmail client, SnappyMail from the “Email” menu, and then click on the “Access Webmail” link.
This will redirect you to where you can log in to your email account.
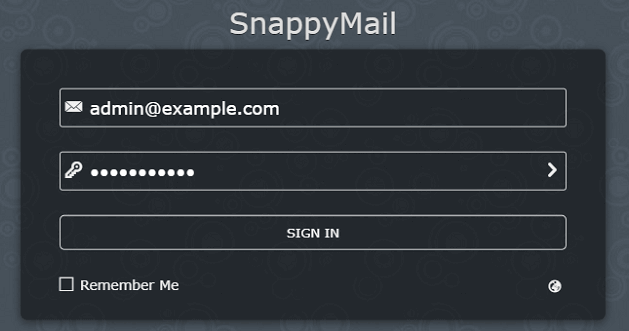
You can enter the details of your email account as set previously to log into the inbox for sending and receiving emails.
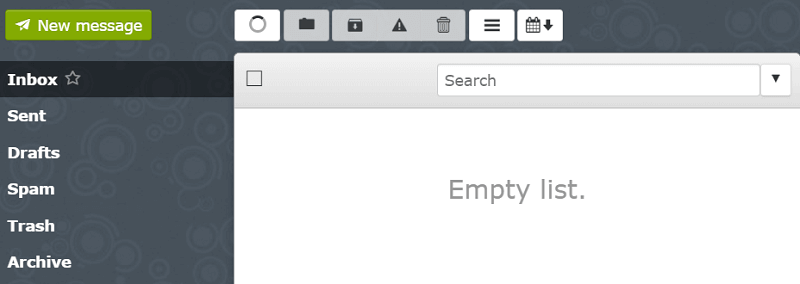
Finally, you can test sending and receiving emails using your email account.
In case you face any issues when sending or receiving emails or are unable to set up the mail server properly, then you can contact us and mention the issues that you face. We respond to each query as soon as possible.